Framing guide
How to turn horizontal video vertical without cutting off speakers
A horizontal recording does not become a useful vertical clip just because you change its shape. Decide what the viewer needs to see, then choose a crop or keep the whole frame. Here is how to make that decision before you export.
01 / Without cropping, or without losing the speaker?
These are different goals. To keep every part of a landscape frame inside a portrait canvas, scale the full image down. A wide recording will leave space above and below. To fill that same canvas, crop away some of the sides and choose which part remains visible.
A 16:9 picture cannot fill a 9:16 frame while preserving its proportions and every original edge. Stretching distorts people; rotating makes them sideways. Neither solves the framing problem. Start with the full frame when both sides contain essential information, and crop only when a narrower view still tells the story.
One scene, three framing choices
Fixed centre crop
The middle can miss both speakers.
Crop toward a speaker
One person is visible; the other is outside the frame.
Keep the full frame
Both stay visible, with empty space above and below.
02 / One speaker: check the movement, not just the first frame
For a talking-head clip, begin with a crop around the person who is speaking. Leave room above the head and around any hand gesture or object that explains the point. Play the whole passage: a crop that works at the start may fail when the speaker leans sideways.
Automatic following is a starting point to review. If it loses the subject, adjust the framing over the affected section rather than trusting a still preview. Use a wider composition or keep the full image when the movement will not fit. Zooming in cannot recover detail missing from the source.
03 / Two people: decide whether the reaction matters
In a wide interview, a fixed centre crop may show the space between the guests. Following the current speaker can work for a self-contained answer, but it hides the other person’s reaction. If that reaction changes the meaning, keep both people visible.
Use the full-frame option when the conversation needs both sides. You will trade larger faces for more context. Scribix does not currently offer a two-person split-screen layout; do not plan a stacked composition around that feature. Check every change of speaker and moments when both speak at once.
04 / A screen recording needs a different decision
A face is not always the subject. For software demos and slide presentations, identify the button, chart or text the viewer must read. A crop that follows the presenter can remove the actual explanation.
Keeping the full frame preserves information, but small interface text may become unreadable on a phone. Pick a shorter passage about one screen area and frame that area if possible. If the task requires the whole desktop and a separate face view, use an editor that supports that layout; Scribix does not currently provide a presenter-plus-screen split view.
05 / Apply the choice in Scribix
Upload an original video file you have permission to use, then choose a suggested clip or select a passage yourself on a paid plan. This workflow produces short portrait clips; it is not a converter for exporting an entire recording at any aspect ratio. YouTube transcript import does not import the original video for clipping.
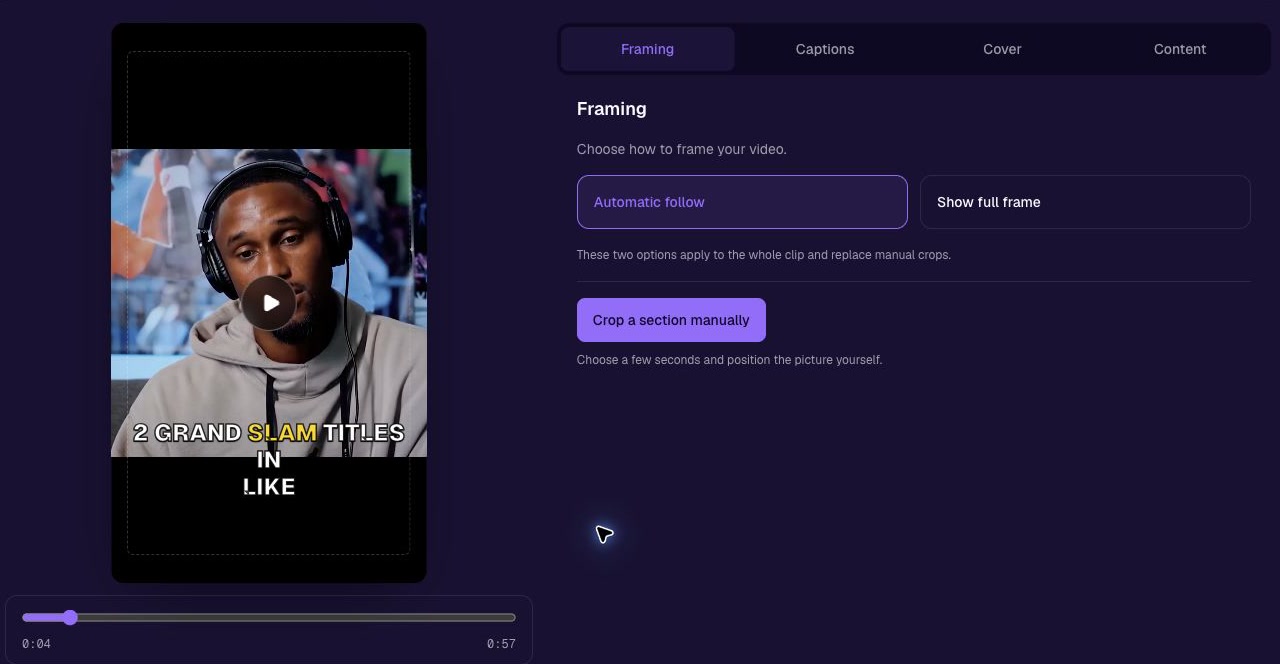
Open the editor’s framing controls. Review Auto for the suggested framing, use Fit to retain the full source picture, or adjust the crop and zoom for the part you want to show. For changes during the clip, work with the framing sections, preview the transitions and save your adjustments before exporting.
Framing adjustments and caption editing require a paid plan. Free accounts can review and export the original AI candidates. After choosing the frame, correct captions and check their position so that they do not cover the face or important screen content.
06 / Check the exported file on a phone
Watch the saved MP4 with sound, from beginning to end. If a head disappears, inspect the corresponding framing section. If there are black bars, check whether you deliberately kept the whole image or whether the bars are already part of the uploaded file. Cropping them away may also remove useful content.
If the result looks soft, reduce the zoom and return to the best original file available. Re-exporting at a larger size does not recreate detail lost in a tight crop. Check the video in the destination app’s preview as well: interface overlays can cover captions even when they fit inside your exported frame.
The example below is an existing portrait export with its original letterboxing. It shows that a 9:16 file can retain a wide picture. It is not evidence that Fit was selected or that automatic framing improved this shot.
Next step: Make and review a podcast clip with Scribix.